Want to root your Motorola Moto G 4.4.4. on Android KitKat? Here is a hassle-free guide on rooting your Motorola Moto G 4.4.4 running on Android KitKat.
Why should you root Motorola Moto G 4.4.4 on Android KitKat? Because A Android rooting is an ultimate way to unleash the potential of your budget-friendly smartphone. Over the years, rooting has become a widespread phenomenon and a necessity for users; who are interested in tinkering around Android. Add features to an Android device and even run versions of Android which the manufacturer never intend to update due to planned obsolescence.
What can you do on a rooted device? Read here.
Why should you root your Android device anyway? Read here.
There is a software named Superboot that can help you to root Motorola Moto G 4.4.4 Android. So here is all that you need before you can root your Moto G and unleash the beast within.
Things you Need to root Motorola Moto G
- Motorola Moto G with at least 70 per cent battery charge.
- Micro-USB cable to connect your Motorola Moto G to your computer.
- Download Superboot tool (download link) created by Paul O’Brien for rooting Android devices.
Step 1: Download and extract Superboot to your PC
Click on the download link mentioned above to download Superboot tool to your PC. The software will be available in “.Zip” format, so right-click on it and extract it to a folder on your Desktop.
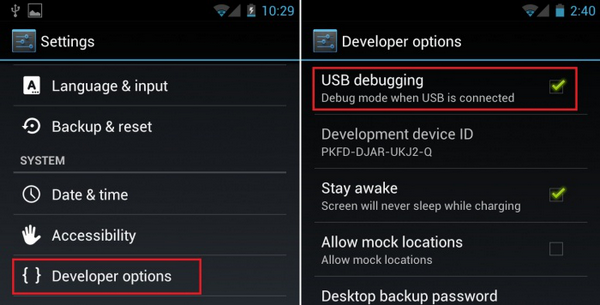
Step 2: Enable USB Debugging on Motorola Moto G

Once you have downloaded and extracted Superboot to your PC, pick up your Moto G and open the Settings app. If you don’t have Developer Options enabled already, scroll down to the “About” tab and tap five times on “Build Number”.
You will be nudged with a pop-up message saying “You are now a Developer”, so head out and tap on the Developer Options tab in the Settings App. Open Developer Options and enable “USB Debugging” by pressing the toggle switch next to it.
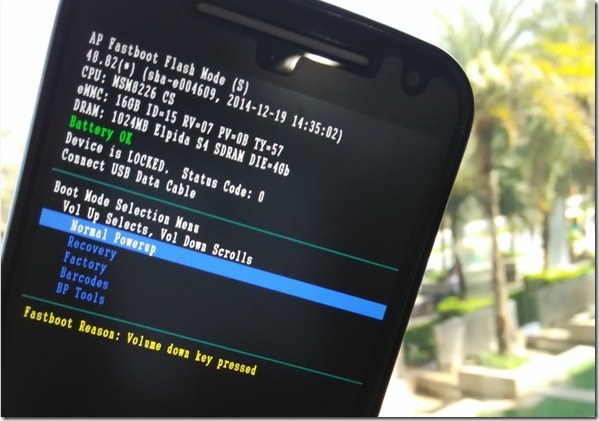
Step 3: Put Motorola Moto G into Bootloader Mode

Disconnect your Moto G if it is connected to the PC or a charger and switch it off. To enter Bootloader Mode on your Moto G, press and hold the Volume down and Power button together, and release the power button (while holding the Volume down button) when the screen turns on.
You will be able to see the message bootloader menu on the screen, at which time you should connect your device to the computer with the Micro-USB cable. The computer will automatically detect the device and install the necessary drivers automatically.
Step 4: Use Superboot to root Motorola Moto G

Go to the folder where you have extracted Superboot and use the following commands:
- Windows – Double click on the file “Superboot-windoww.bat”.
- Mac – Open a terminal window to the directory where you have extracted Superboot and type “chmod +x Superboot-mac-sh” followed by “./superboot-mac.sh”
- Linux – Open a terminal window to the directory where you have extracted Superboot and type “chmod +x superboot-Linux.sh” followed by “./superboot-Linux.sh”
A command prompt window will open up and begin the process of rooting your Moto G, which should take a couple of minutes. Once the process is complete, use the volume buttons to navigate to “Normal Powerup” and confirm by pressing the Power button.

Step 5: Check Motorola Moto G is rooted
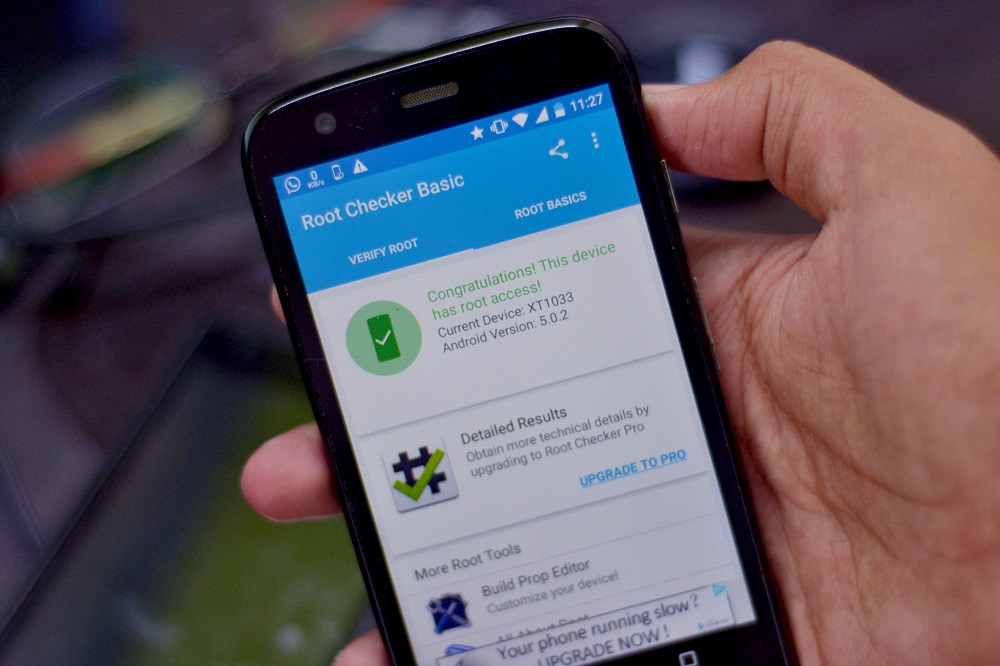

Once the device reboots, head over to the app drawer and you will be able to see that SuperSU is automatically installed. Open the app, and a window will pop up, asking you to grant Superuser request, where you should press “Grant”. This is a confirmation that you have successfully rooted your Moto G.
If the whole technical mumbo-jumbo seems a bit confusing to you, you can try out this video tutorial on how to root Moto G 4.4.4. Android KitKat right here:
- Related Posts.
- Rooting Coolpad Note 3. The Straight Forward Way
- Rooting Android Device? The Right Tools You need
- Rooting Redmi 3S Prime. The Hassle-Free Way
- Want to change Launcher Android Has Installed?
- 5 Hacking Tools For Android.
- How To Repair SD Card Crashing On Android?
- How To Clear App Cache And App Data On Android?
- Guide To Android Rooting. Everything You Need To know.