Trying to look for the best receipt scanner? Keeping track of your expenses is one of the essential productivity practices, which is why we should be using Evernote for receipts and expense tracking. Managing your expenses to make sure you make ends meet or keeping a ledger on your expenses on your employer’s behalf. Evernote has been in the mobile app business for almost a decade, but what most people don’t know is that you can use Evernote for receipts to track expenses, and is the best receipt organizer in town!
Whether you are trying to put a cap on your expenses or keeping a tab on the expenses you make while entertaining clients, Evernote does the job. While keeping the physical receipts with you for evaluation is a choice, it isn’t a perfect one because you can always lose them. If you live a busy life (or a clumsy one), using Evernote for receipts tracking is just what you need to take control of your finances. It’s the best smart receipts app ever created and the best receipt scanner.
Saving the Receipts with Evernote- the best receipt scanner
The first thing to do right off the bat is to download the Evernote app for your iPad from the App Store. Search for “Evernote” in the App Store or download Evernote for iPad here. Evernote app has offered the feature to save documents in image form since its version 4.4 update, so open the app and start shooting.
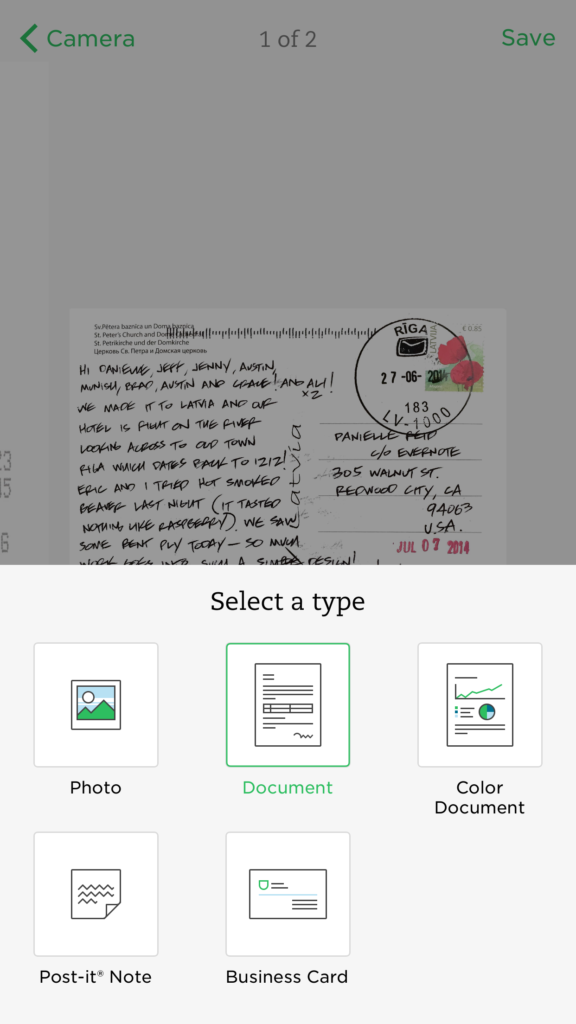
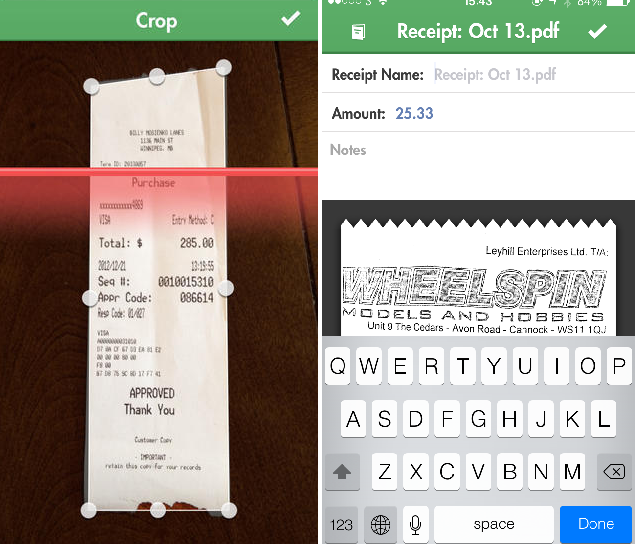
Place your receipt on a table, pull out the Evernote app, and take a photo of the receipt with the “page snapshot” feature. The camera automatically aligns with the edges of the paper, giving you a clear picture of the receipt with accurate colours and texts. When you save a receipt in Evernote, the best thing is to title the arrival by the name of the place where you made the expenditure.
For instance, if you just had dinner with some clients on your company’s behalf in New York, take a quick picture of the receipt with the Evernote app and label it “Client dinner in New York.” You don’t need to jot down the amount, time, and address since all of that is usually covered on the receipt.
Organizing your Receipts with Evernote
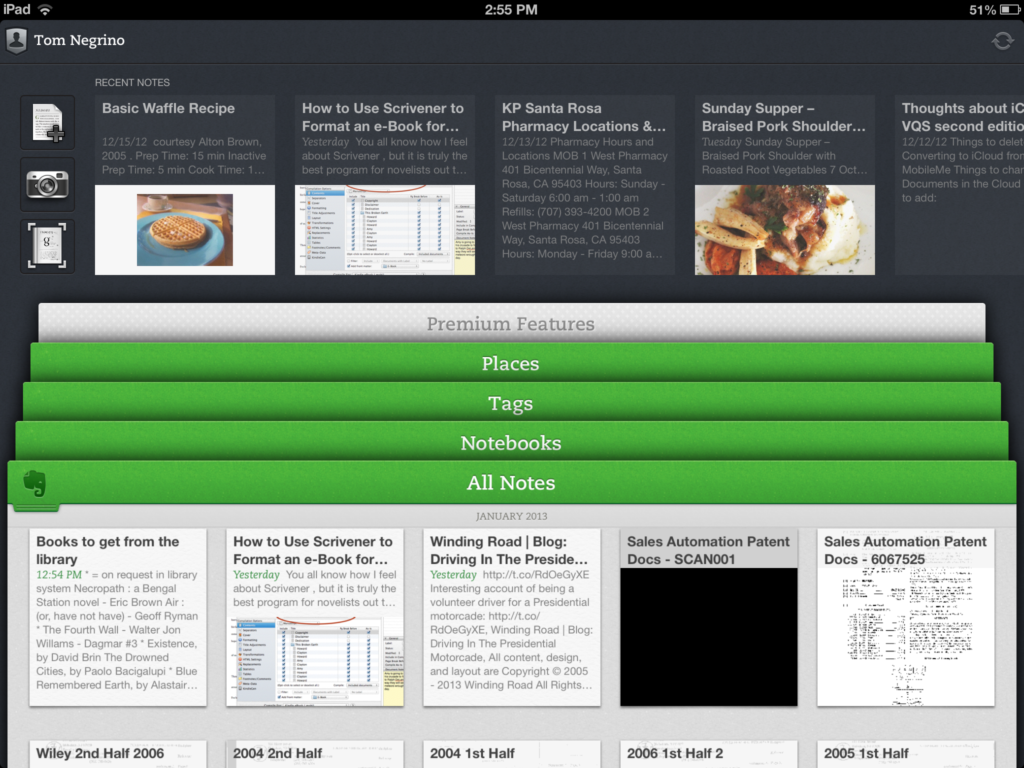
When using Evernote for receipts, you have to add them to a “Notebook.” Put, a notebook in Evernote is a folder where you can save and manage a similar type of documents, such as receipts. All your receipts are saved in the Inbox Notebook by default, so create a notebook named “Receipt” and move all your receipts to that folder.
When moving your receipts to the folder, it is always a good practice to add a specific tag to them so you can look them up quickly later on. For instance, add the tag “taxi” and “receipt” to your taxi fare for the airport. This helps you instantly look them up later when you want to send your boss the expense report on your business trip.
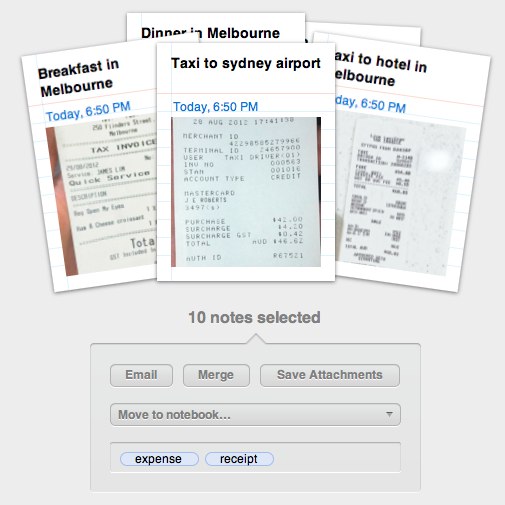
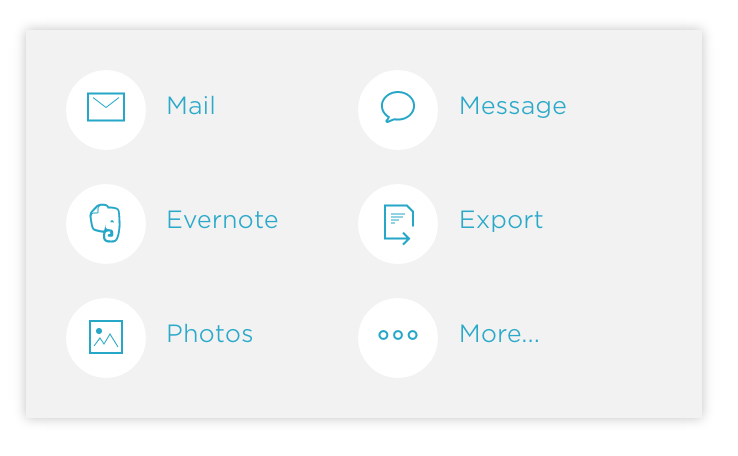
You can also manage the organization using receipts for Evernote from the Evernote web app by logging in with your credentials. Simple press CTRL (Windows) or CMD (Mac) and click on the receipt documents you want to submit, and press the Email button to send it to your employer or accountant for reporting.
Submitting expenses to an online system
If your company does not permit sending expense receipts directly to the accounts people, you can still use receipts for Evernote to streamline productivity. Submitting expense reports to an online system is always a pain, but you can make it easier by managing your receipts in Evernote with the right tags.
First of all, open your Receipts notebook in Evernote and hide the ones you have already claimed back. Add a tag “Done” to the receipts you have been compensated for, and use “Pending” tag for the ones you are yet to claim. These tags will help you differentiate between the receipts you have claimed back and the ones you are, however, to be compensated for.
If you are required to submit receipt claims by-monthly, it is even easier using receipts for Evernote expense tracking. Since all your saved receipts come with an automatically generated timestamp, you can easily filter them out for each month.
For instance, to submit an expense report for January 2016, select all the receipt pictures saved in January. Then press the “Merge” button and title the note as “Expense Report for January 2016”. You can then choose to either save and print the note as a PDF document or directly email it.
If you need more information on how to use receipts for Evernote, here is a visual guide to help you understand more about it: