Whether you’ve been an Android user for a decade now or just moved on shortly from the iPhone team, you’ve probably heard the phrase “Android rooting” thrown around. The internet is crowded with all sorts of information on rooting your Android device, and since the practice has been around for years now, you ought to learn about it too. Here’s a guide to Android Rooting and all you need to know about it.
What is rooting all about?
In its essence, Android is based on the Linux operating system, which is where the process of rooting has been borrowed. The way the Android OS is designed, it gives permissions to individual apps to run and modify system files that are installed on your phone.
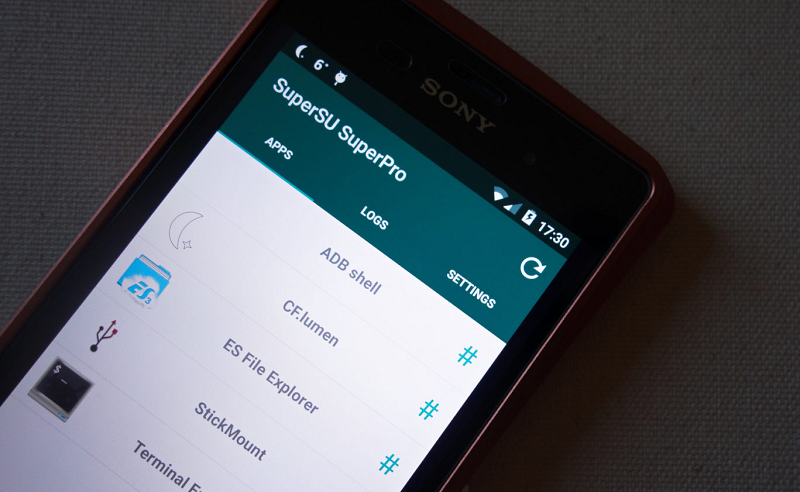
However, when a user is granted root permission, i.e., Superuser, the user can bypass the OS restrictions and pretty much add, modify, replace, or even delete any files installed on the Android device. Rooting your Android gives you the ability to access any function of the phone without supervision, and remove any system files at your discretion.

Should I root my Android device?
There’s no single answer to whether you should root your Android device or not, even though most users, when given a chance, would do it. While some people feel that they deserve to enjoy the “unleashed” version of Android, that is the guide to android rooting it provides, and others stay cautious due to the security risks it poses.
Pros:
- Rooting your Android enables you to remove bloatware such as system-installed apps and other apps from your network carrier that you otherwise cannot uninstall.
- You get the ability to run specialized apps and services that are incompatible on your Android device and even block pesky advertisements.
- Rooting opens the doors to the world of custom ROMs, which brings a whole new set of customization features and performance enhancements.
- Several apps that only work with rooted devices can help you improve the battery life, clear up local storage, and even overclock the CPU for added optimization.
Cons:
- Rooting your phone automatically forfeits your device of its manufacturer warranty. However, you can always unroot your device and claim the warranty if need be.
- The process of rooting an Android requires flashing specific files that can potentially brick your smartphone. It is vital always to fetch the root files from a reliable source.
- The problem with rooted Android devices is that you will most likely have issues installing the OTA updates rolled out by your device manufacturer.
Preparing for Android Rooting
Now that you’ve weighed the benefits and disadvantages of rooting your Android device, here’s how you can get started with the process. To flash the right files that allow you to add superuser permission to your device, you will either need to make use of the Android SDK or unlock the bootloader of your device.
Since the Android SDK application is too large and wastes your bandwidth, a talented XDA user has developed the Minimal ADB and Fastboot tool. This tool helps you flash the root files to your Android phone or tablet without the need to download the bulky Android SDK software.

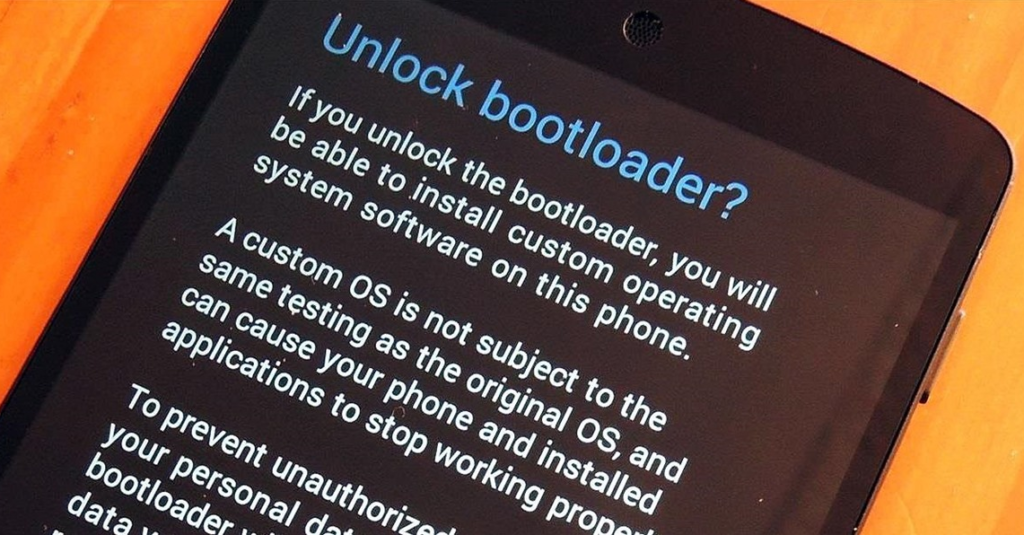
Unlocking the bootloader of your Android device is also a necessary step before rooting, and this step can vary depending on your device manufacturer. While you might be able to unlock the bootloader using the Minimal ADB and Fastboot tool, other Android OEMs allow you to unlock the bootloader through their online system.
- Unlocking HTC bootloader
- Unlocking LG bootloader
- Unlocking Sony bootloader
- Unlocking Huawei bootloader
- Unlocking Motorola bootloader
Once you have opened the bootloader of your Android device, your manufacturer warranty is void. However, you’re now just one step away from enjoying the limitless features that rooting has to offer.
Since there are more than 12,000 different Android devices, there is no traditional method for rooting that works for all. The best way to root your Android the standard form is by putting the XDA Developers forum to good use. All you need to do is jump over to the XDA Developers forum website and search for the model of your Android device.

There’s a slim chance that your Android device won’t already be covered on the XDA forum, and with thousands of users to help you at every step along the way, follow the available guides.
Root Android using third-party apps
Since rooting Android has become increasingly popular and equally painful with Google’s security updates, a decent number of services have begun offering one-click root solutions. Most of these commercial rooting services are available for free in the form of PC software or Android apps and aim to help you root without any of the technical hassles.
For those who can’t be bothered with the difficulty of the traditional method and Guide to Android rooting device, these commercial rooting apps are the simplest way to go forward. There are plenty of theories that suggest that these rooting services may contain malicious data and may even steal the personal data stored on your phone.
However, if you’ve read the details carefully and wish to proceed further, here’s how you can use one of these commercial rooting apps – KingRoot.

Note: Before you begin the rooting process, make sure that you’ve created a backup of all the essential data on your phone. You must also ensure that the device has at least 50% of the battery charge before you begin rooting.
Step 1: Download KingRoot
KingRoot software is available for rooting Android in the form of an app as well as software for the Windows PC platform. However, KingRoot is not available on the Google Play Store, so if you wish to root your Android directly using the mobile app, you will need to download the APK file.

Step 2: Install the KingRoot app on your Android
If you choose to root your Android using the KingRoot mobile app, you will need to install the APK. File first. To do so, you will first need to enable “Unknown Sources” from the Developer Options in the Settings. If you don’t have the Developers Options, show up in the Settings menu here’s how you can enable it.
- Go to Settings – About and tap of the Build Number tab seven times until you see the “Congratulations! You’re now a developer” message pop up.
- You will now be able to see the Developer Options tab at the bottom of the Settings menu, so open it and press the toggle switch right next to “Unknown Sources.”
- Once you have the Unknown Sources option enabled, head over to the location where you have downloaded the KingRoot.APK file and install it.
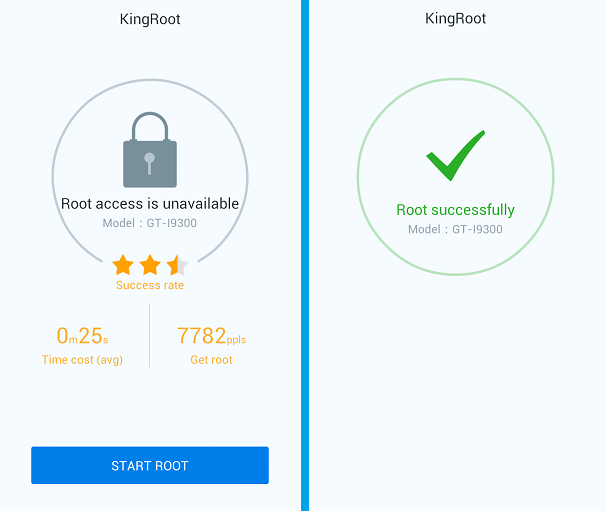
- Now that you have the KingRoot app installed, launch the app and press the “Start Root” button to begin the rooting process.

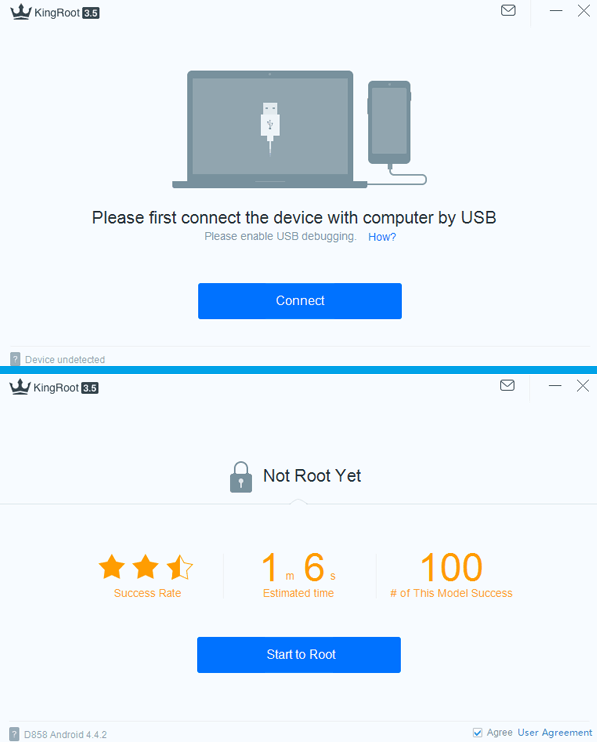
Similarly, once you have downloaded the KingRoot software on your computer, launch it and connect your Android device using a USB cable. Once the phone is detected, press the “Start to Root” button, and the entire process will begin. The rooting process should not take more than a couple of minutes, during which the phone will reboot multiple times, so do not disconnect it. Hope this article serves you with a good Guide to Android Rooting.


