Before you dive headfirst into WordPress, it is better first to get exploring the WordPress Dashboard, as at times it can be intimidating when starting.
As a beginner to WordPress, the main screen, which is regarded as the WordPress Dashboard, can seem a bit intimidating to work with. Compared to most CMS options, the WordPress Dashboard is far more user-friendly, and with a little help exploring it, you should be off the great start.
Must Read: Blogging in English To Make Money.
Exploring the WordPress Dashboard
Logging into the Dashboard

The WordPress Dashboard is one of the first screens you see when you log into your website. In order to access the WordPress Dashboard from your website, simply add “/wp-admin/” to your website URL, and you will be able to see the login screen.
The screen you see in the image above is where you enter your username and password that you had saved earlier. Type in your username and password credentials, click on “Log In” to access the WordPress Dashboard of your website.
The Top Menu

Once you’ve successfully logged in, you’ll be able to view the main screen of the Dashboard with the menu bar on the left-hand side of the screen. Right above the Dashboard icon, you will notice the top menu in the black section, which highlights some aspects of your website.
You’ll notice the name of your website is highlighted on the top menu right after the WordPress logo. After that, you will see the “comments” icon which notifies you how many unapproved comments are available right now.
Finally, the “+New” allows you to create a new page, post, media, or user right from the main screen. Also on the right-hand corner of the top menu, you will be able to view the user details, where you can edit the profile and log out of WordPress from the website.
Dashboard Main Screen
Using the main screen on the Dashboard, you can overview multiple different aspects of your website from a single screen. You can choose to minimize any of the displayed widget boxes or even hide them entirely from the main screen. To do so, click on the “Screen Options” tab on the top-right and uncheck the widget boxes you want to hide.
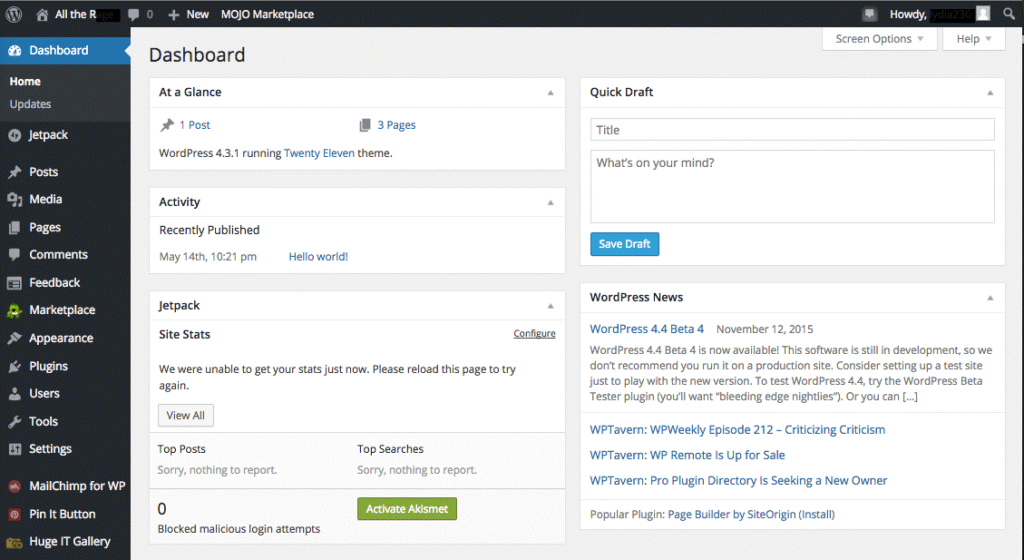
While the number of widget boxes depends on the widgets and plugins you have installed, there are some basic ones that WordPress offers by default:
At a Glance – This widget box gives you an overview of the number of posts and pages that are currently published on your website. Moreover, it also highlights the number of comments posted, number of comments in moderation and your WordPress version number along with the name of the WordPress theme you have installed.
Activity – Just as the name suggests, this widget box gives you a brief insight into the recent activities that have taken place on your website. Apart from the recently published posts and a list of the latest comments, you have the ability to reply, edit, delete, approve or disapprove the latest five comments right from the widget box.
Quick Draft – This handy widget box enables you to create and save your thoughts regarding a post right from the Dashboard screen. Simply write in a title and content that you have on your mind and use “Save Draft” to add it to the “Posts” section for later viewing and editing.
WordPress News – This widget box gives you regulatory information and news on WordPress, which is collected from the WordPress blog and other WordPress related news websites.
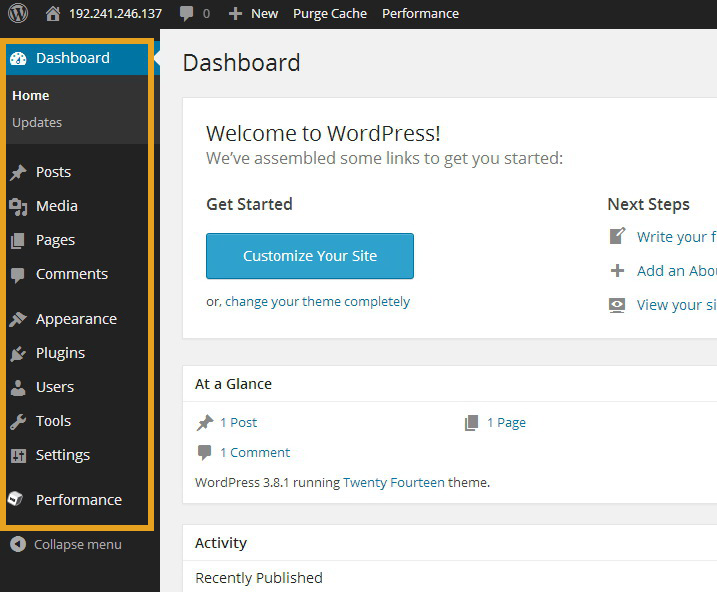
Dashboard Sidebar
Now that we have discussed the main Dashboard screen let’s take a look at the Dashboard Sidebar, where all of the options you need for posting, editing, and configuring your website are present.
While the number of elements available on the Dashboard Sidebar does depend on the plugins and theme you have installed, here are basic ones that you get by default. You will also notice that sub-menus appear for each of the menu items on the WordPress Sidebar when you move the cursor over them.
Posts – This menu item enables you to view all of the posts that have been published or drafted for your website. Clicking on the “Posts” button gives you a complete overview of all the posts on your website, where you can edit the posts or click on “Add New” to create a new post. By moving the cursor over “Posts” on the Sidebar, you can view “All Posts”, “Add New”, view “Categories” and “Tags” as well.

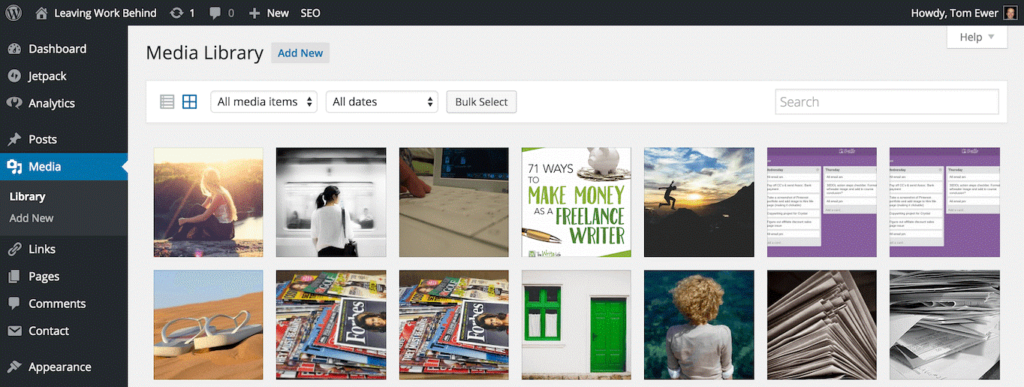
Media – In order to view all of the media items such as photos, audio, and video clips that you have uploaded to your website, click on the “Media” button on the Sidebar. The Media Library enables you to sort and view the media items by name, date, and format. You can also use the “Add New” button to upload more media files to your website.
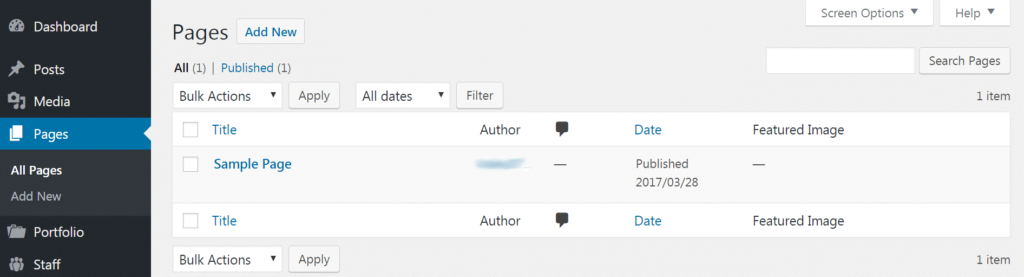
Pages – The layout of the “Pages” menu is quite similar to “Posts”, where all of the created web pages for your website are listed. Similarly, you can view and edit any content on the published pages, or add a new page to your website by clicking on “Add New”.
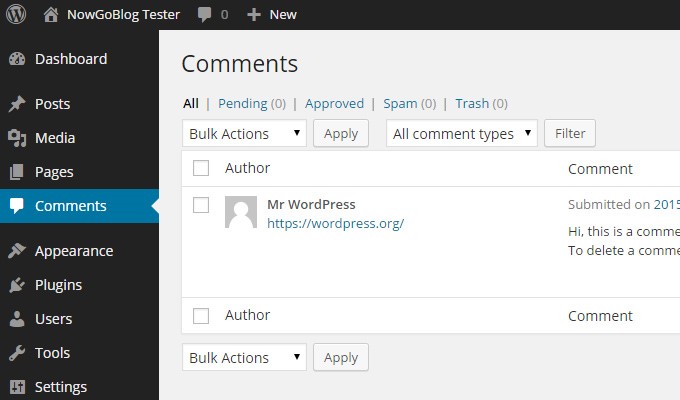
Comments – This section lists all of the approved, disapproved, and pending comments that have been published by readers on your posts. Using the filter options, you can choose to approve, disapprove, mark as spam, and delete bulk comments at once.
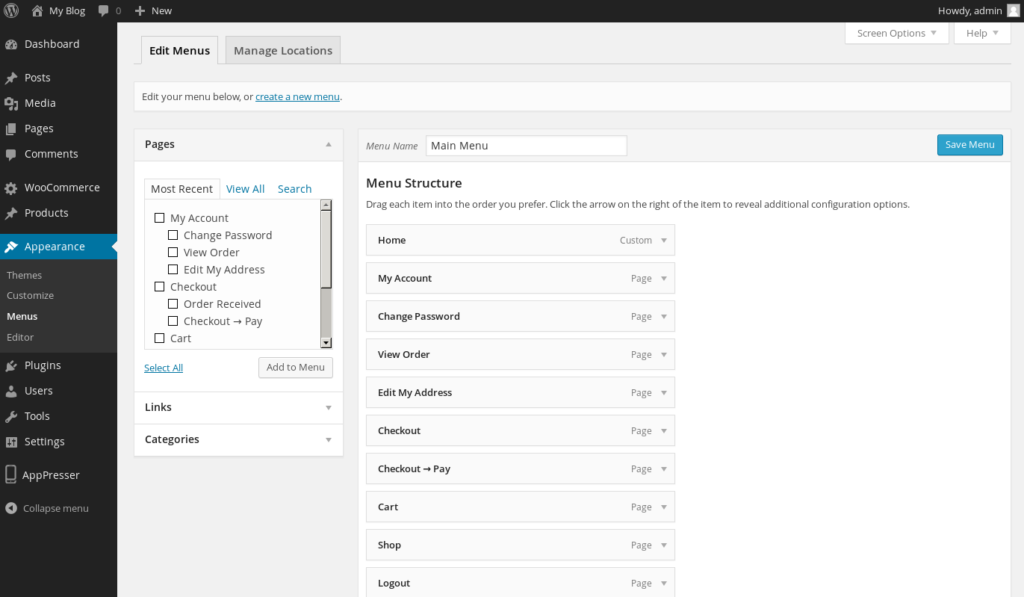
Appearance – Since WordPress themes and custom templates are a huge aspect of the user interface, WordPress Dashboard includes a section dedicated to this. The “Appearance” tab option allows you to customize the website, add widgets, menus, headers, backgrounds and more, along with the ability to find and install themes and try out a live preview.
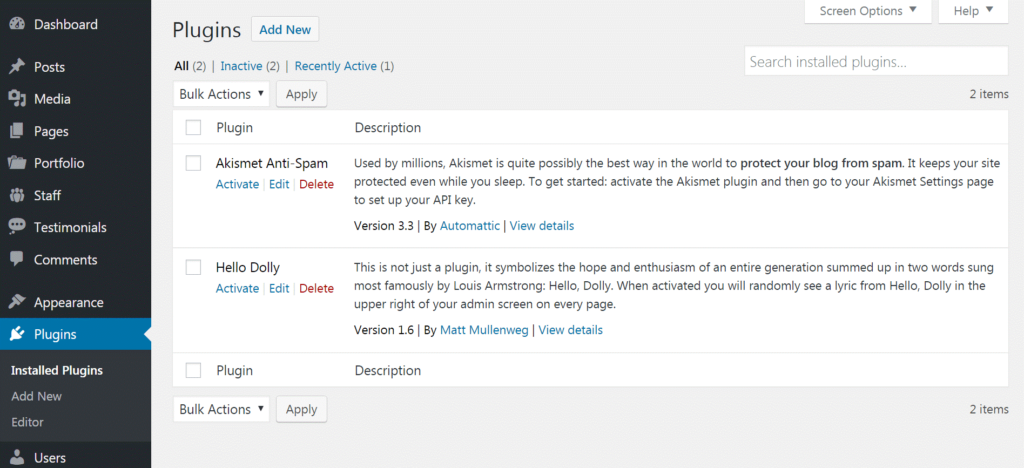
Plugins – This section highlights all of the plugins that are installed on your website under a single menu. You can choose to activate, deactivate, edit, or delete a plugin right from the “Plugin” menu screen. Moreover, you can also add a new plugin to your website by clicking on the “Add New” button.
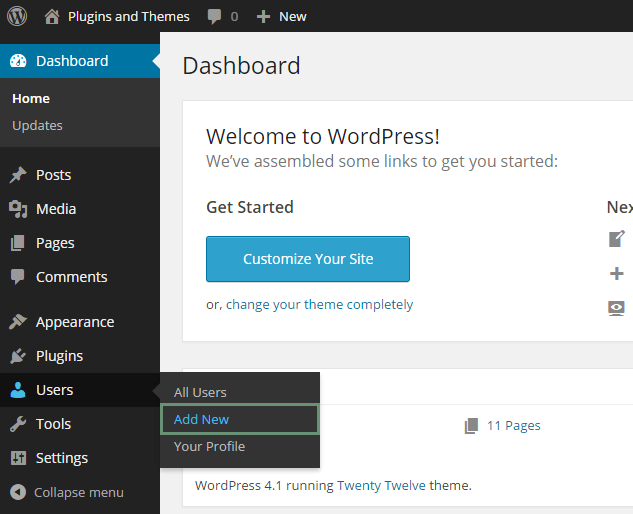
Users – In case your website is used by multiple users such as writers and moderators, the “Users” tab enables you to view the entire list of registered users in one place. You can choose to add a new user by using the “Add New” button, edit the user details and change their access permissions, or even delete a user as long as you have admin privileges.
Wrapping it up
While so many different tabs, menus and widget boxes may startle you at the beginning, they are fairly straightforward and easy to get used to. Just make sure you give this guide to exploring the WordPress Dashboard a good read, and you’ll be good to go. Want to help fellow bloggers? Share this article on exploring WordPress dashboard to others.